Lawrence I can expand some for you.
First off I have found at least with the emerald, my projector, and printer i have to adjust the buffer to 2 or 3. It seems to print the emerald better with these buffer settings. The lighter pieces I set the buffer to 2 and the heavier pieces I set to 3. I believe that every projector is a little different and a little experimenting is in order. I know some might say it doesn't matter But I never leave the resin in the trays after printing. I dont like mixing the resin in the vat because of the film. Also the emerald tends to have a few small floaters now and then so I like to strain my resin before every print run. I pour the used resin in a light proof jar then strain it before the next print.
I keep everything spotless and try to keep a very clean environment. I have a routine I follow religiously every time I print, clean, cure, invest and cast and I don't deviate from this routine.
1. I always check my film before I print. I make sure it is very clean and not to loose.
2. I then always mix my resin in the jar with a silicone spatula.
3. After mixing I pull up 40 mls using a large syringe I then strain the resin as I put it in the vat.
4. Note: My film is installed as Emil shows in his video. I would rather have the film a hair to loose than to tight. If your prints are not printing all the way or stop printing chances are the film is to tight.
If your prints are printing all the way but show heavy layer lines chances are your film is stretched badly and needs to be replaced. I print a lot and I can normally use one piece of film for about 3 months.
5. I always clean the quartz before every print. Resin on the bottom of the vat or on the quartz is a print killer. I use 90% Isopropyl to clean them.
6. When I install the vat on new film I tighten the screws down all the way then back them off evenly till the vat starts to feel loose or no tension on the thumb screws. when this happens I then re tighten the thumb screws 1/2 a turn.
7. After the print is complete I clean the prints in a small jar of 90% Isopropyl in a small ultrasonic NO HEAT for about 15-30 seconds no longer.
8. I then rinse them in dish detergent and water mix in a Ziploc bag, this will remove any resin residue. I then rinse the prints under hot water for about 30 seconds no longer. You can just use hot water and no detergent if you don't have it.
9. Then use compressed air to dry the prints. One note I leave the supports on all the way through the cleaning and curing process.
The curing process.
1. After the prints are dry from cleaning I put them in a UV nail curer (NO WATER OR OIL) for 12-1 minute cycles making sure to rotate and flip the prints after 2 one minute cycles. Both my UV curing devices have mirrors in them to reflect the UV light to as many areas of the prints.
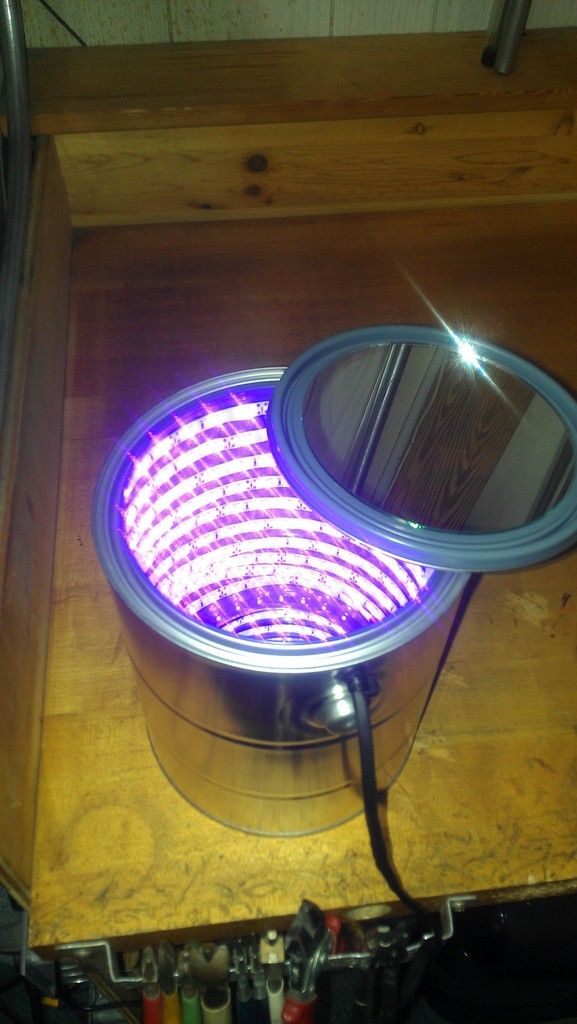
2. I then put them in my can UV curer over night for a final cure. (NO WATER OR OIL)
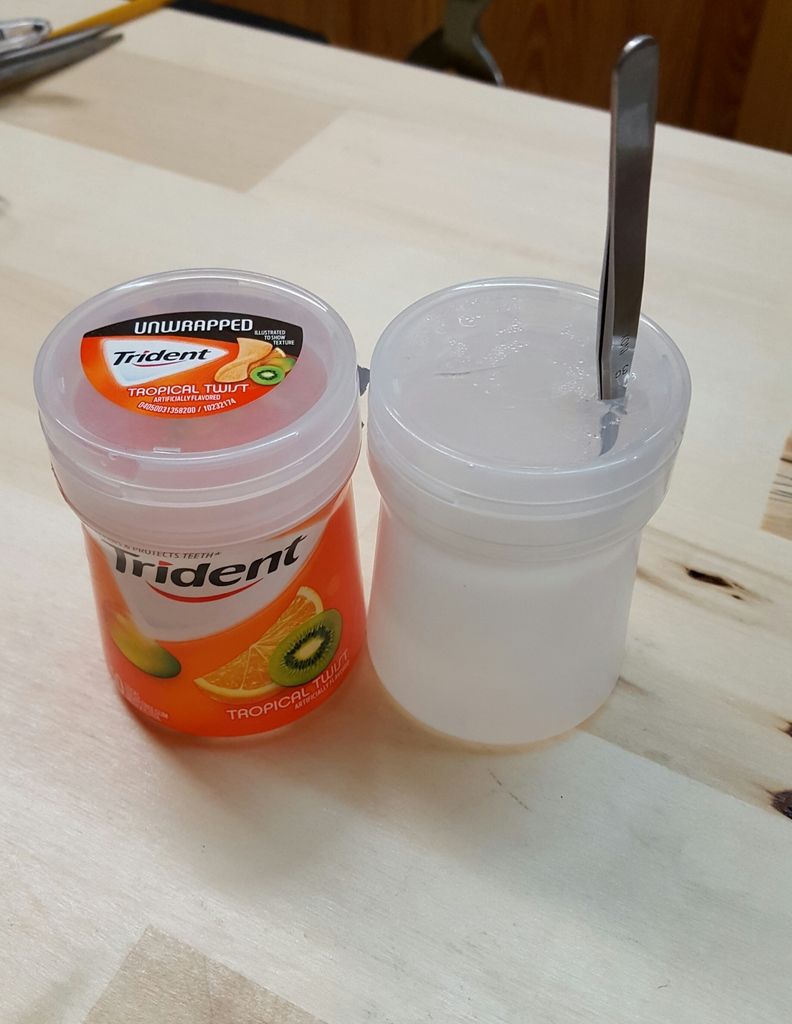
3. Next morning I place the prints in my fancy distilled water container and fill half way with distilled water. I then microwave them for around 2min 30 seconds to 3 minutes. I then let them cool and refill with distilled water and repeat the microwave process two more times.
4. Dry off with compressed air.
5 Clip off supports touch up and you are ready to invest.
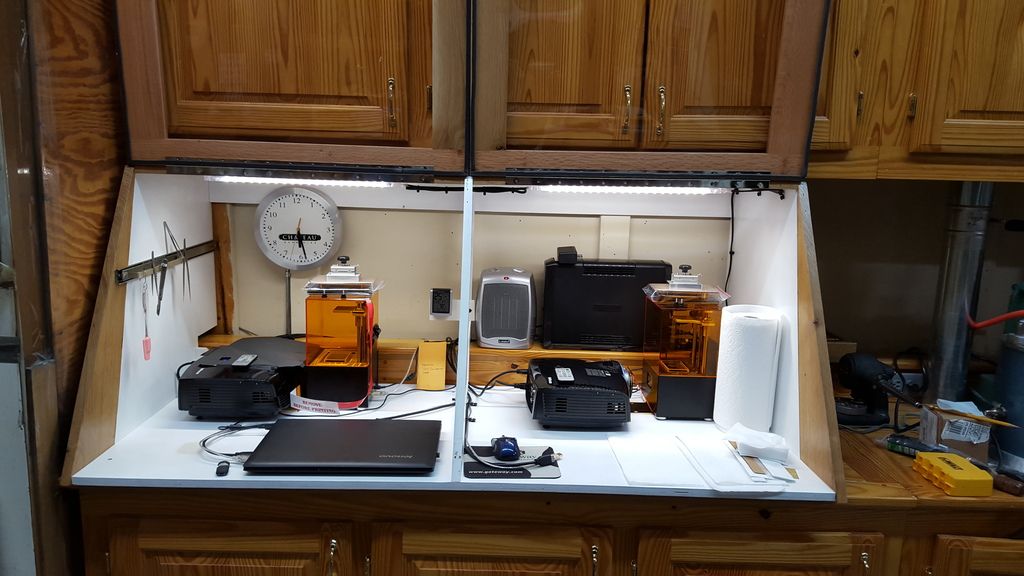
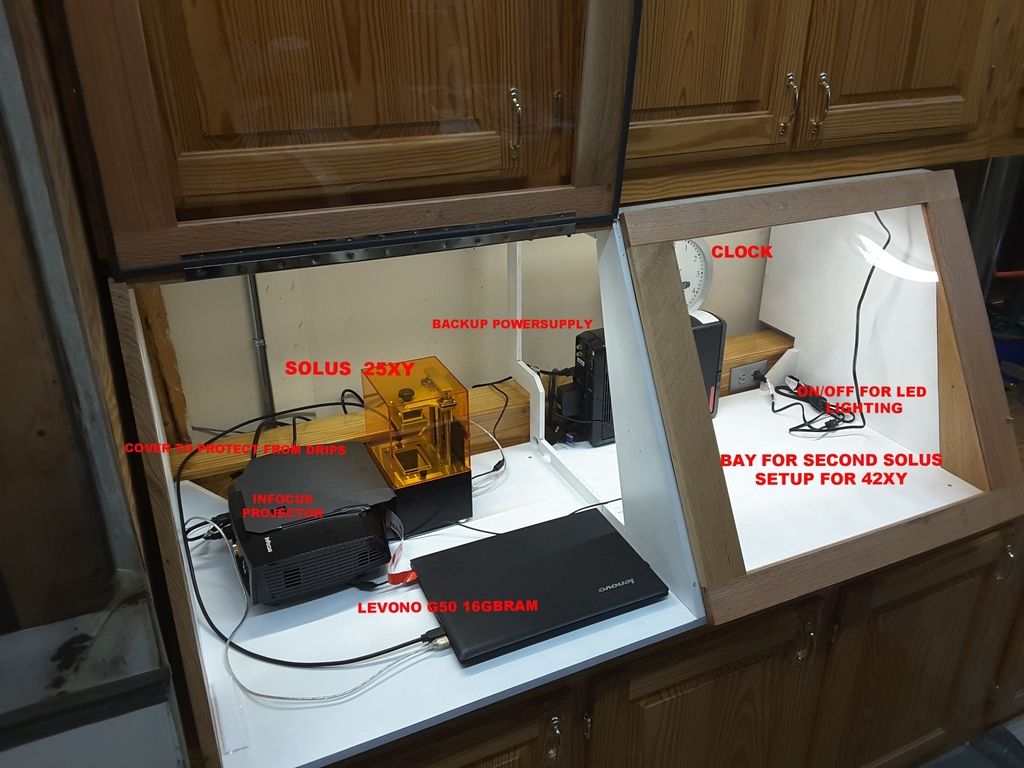
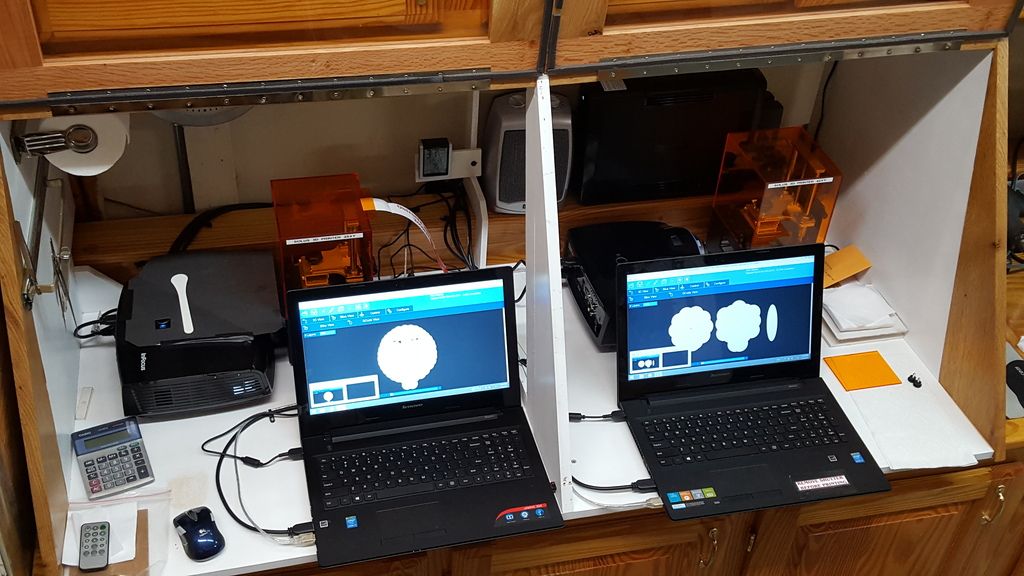
The 25xy and 42xy printers home.
Can UV curer.
My fancy print microwave container!